Ditch the Backend Headache: Launch Full-Stack React Apps with Supabase & AI in 15 Minutes
Published by DL Minds LLP | Reading Time: 8 minutes | Last Updated: July 2025
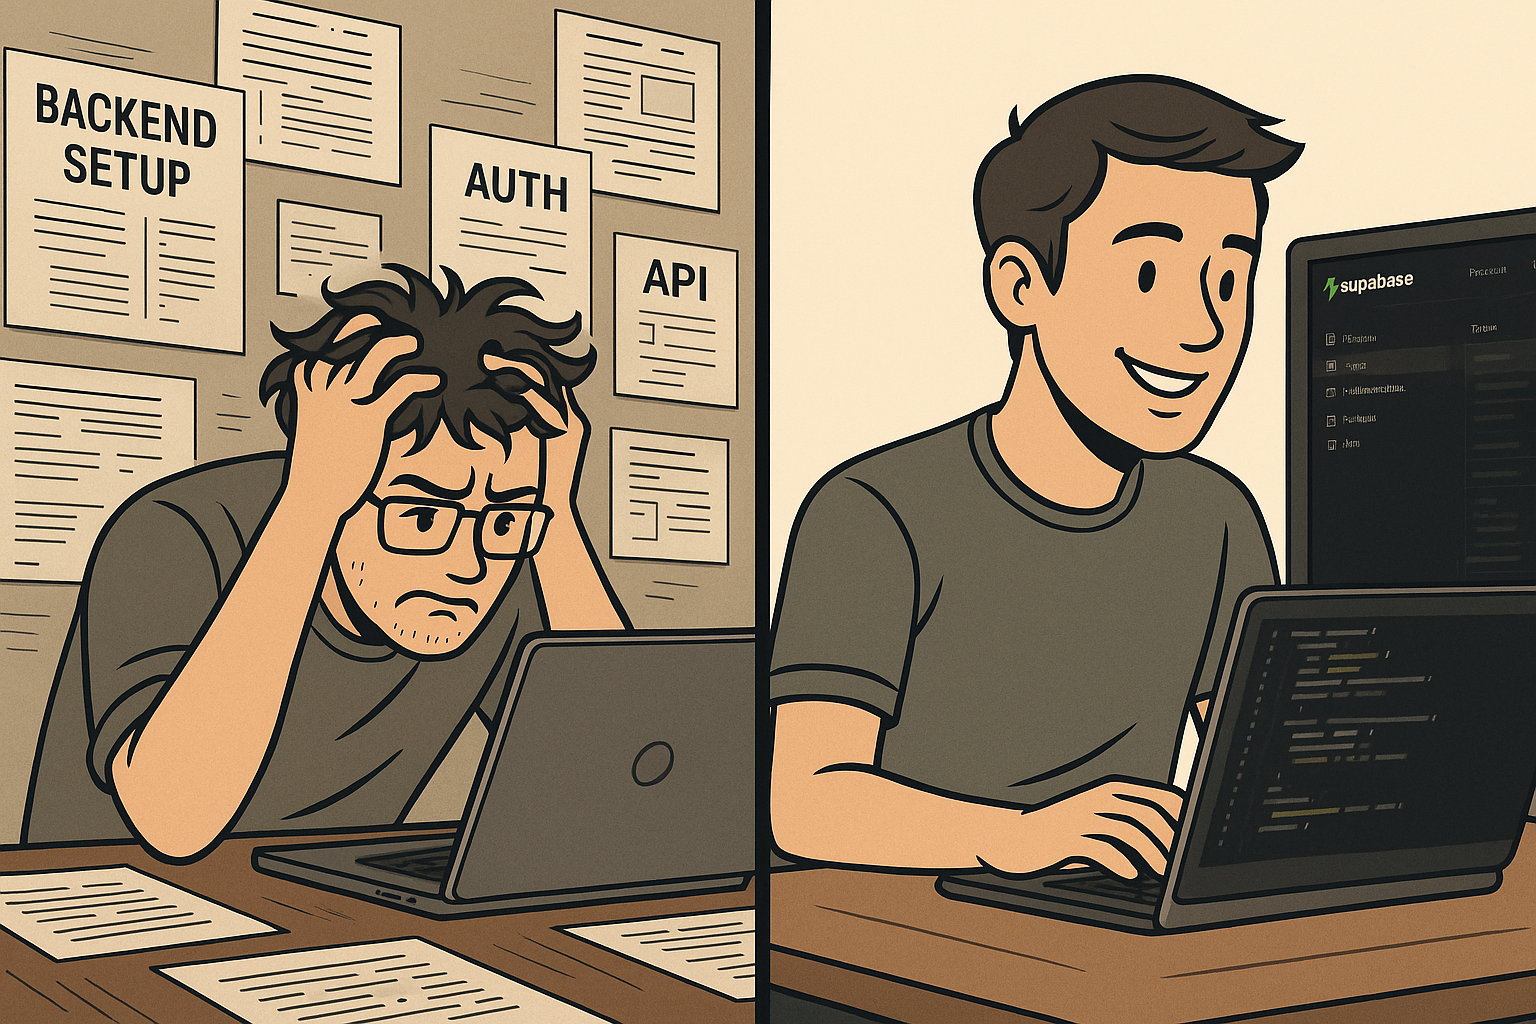
Imagine building a full‑stack React application with authentication, real‑time database, file storage, and AI features — all in under 15 minutes. No complex server setup, no database‑configuration headaches, no endless documentation diving.
If you’ve ever spent weeks wrestling with backend infrastructure instead of building features your users actually care about, this guide is your escape route. We’ll show you how to leverage Supabase’s modern backend platform to build production‑ready React and Next.js applications that scale, plus integrate cutting‑edge AI capabilities.
Why Supabase Changes Everything for React Developers
Every React developer has been there: you have a brilliant idea, but then reality hits — you need a backend. Suddenly, your weekend project turns into a month‑long ordeal of authentication complexity, database architecture, and real‑time‑functionality setup.
Supabase eliminates this pain with:
- Real PostgreSQL power with zero configuration
- Built‑in authentication with social providers
- Real‑time subscriptions out of the box
- Generous free tier perfect for MVPs
- TypeScript‑first approach with auto‑generated types
- Open‑source foundation with no vendor lock‑in

According to TechMagic’s 2025 developer survey, over 60 % of React projects are abandoned in the initial backend‑setup phase. Supabase changes this equation completely.
Quick Setup: From Zero to Full‑Stack in 5 Minutes
Step 1 – Project Creation
# Create Next.js project
npx create-next-app@latest supabase-ai-app --typescript --tailwind --app

# Install Supabase SDK
npm install @supabase/supabase-js @supabase/ssr
Step 2 – Supabase Configuration
# .env.local
NEXT_PUBLIC_SUPABASE_URL=<your_supabase_url>
NEXT_PUBLIC_SUPABASE_ANON_KEY=<your_supabase_anon_key>
OPENAI_API_KEY=<your_openai_api_key>
Step 3 – Client Setup
// lib/supabase/client.ts
import { createBrowserClient } from '@supabase/ssr'

export function createClient() {
  return createBrowserClient(
    process.env.NEXT_PUBLIC_SUPABASE_URL!,
    process.env.NEXT_PUBLIC_SUPABASE_ANON_KEY!
  )
}
Database Schema in 2 Minutes
-- Posts table with AI vector support
CREATE TABLE posts (
  id UUID DEFAULT uuid_generate_v4() PRIMARY KEY,
  title TEXT NOT NULL,
  content TEXT NOT NULL,
  published BOOLEAN DEFAULT FALSE,
  author_id UUID REFERENCES auth.users NOT NULL,
  created_at TIMESTAMP WITH TIME ZONE DEFAULT NOW(),
  embedding VECTOR(1536) -- For AI search
);

-- Comments table
CREATE TABLE comments (
  id UUID DEFAULT uuid_generate_v4() PRIMARY KEY,
  post_id UUID REFERENCES posts(id) ON DELETE CASCADE,
  author_id UUID REFERENCES auth.users NOT NULL,
  content TEXT NOT NULL,
  created_at TIMESTAMP WITH TIME ZONE DEFAULT NOW()
);

-- Enable Row Level Security
ALTER TABLE posts ENABLE ROW LEVEL SECURITY;
ALTER TABLE comments ENABLE ROW LEVEL SECURITY;

-- Basic policies
CREATE POLICY "Published posts viewable by all"
  ON posts FOR SELECT USING (published = true);

CREATE POLICY "Comments viewable by all"
  ON comments FOR SELECT USING (true);
Real‑Time Features That Just Work
'use client'

import { useState, useEffect } from 'react'
import { createClient } from '@/lib/supabase/client'

export default function Comments({ postId }: { postId: string }) {
  const [comments, setComments] = useState([])
  const [newComment, setNewComment] = useState('')
  const supabase = createClient()

  useEffect(() => {
    // Fetch existing comments
    fetchComments()

    // Real‑time subscription
    const channel = supabase
      .channel(`comments:${postId}`)
      .on('postgres_changes', {
        event: 'INSERT',
        schema: 'public',
        table: 'comments',
        filter: `post_id=eq.${postId}`,
      }, (payload) => {
        setComments(current => [...current, payload.new])
      })
      .subscribe()

    return () => supabase.removeChannel(channel)
  }, [postId])

  const fetchComments = async () => {
    const { data } = await supabase
      .from('comments')
      .select('*')
      .eq('post_id', postId)
      .order('created_at')

    setComments(data || [])
  }

  const handleSubmit = async (e) => {
    e.preventDefault()
    if (!newComment.trim()) return

    await supabase.from('comments').insert({
      post_id: postId,
      content: newComment,
      author_id: user.id
    })

    setNewComment('')
  }

  return (
    <div className="space-y-4"> ... </div>
  )
}
AI‑Powered Search in 10 Minutes
Step 1 – Vector Search Function
CREATE OR REPLACE FUNCTION vector_search(
  query_embedding VECTOR(1536),
  match_threshold FLOAT,
  match_count INT
)
RETURNS TABLE(id UUID, title TEXT, similarity FLOAT)
LANGUAGE SQL STABLE AS $$
  SELECT id, title, 1 - (embedding <=> query_embedding) AS similarity
  FROM posts
  WHERE 1 - (embedding <=> query_embedding) > match_threshold
  ORDER BY embedding <=> query_embedding
  LIMIT match_count;
$$;
Step 2 – Search API
// app/api/search/route.ts
import { NextRequest } from 'next/server'
import { createClient } from '@/lib/supabase/server'
import OpenAI from 'openai'

const openai = new OpenAI({ apiKey: process.env.OPENAI_API_KEY })

export async function POST(request: NextRequest) {
  const { query } = await request.json()

  // Generate embedding
  const embeddingRes = await openai.embeddings.create({
    model: 'text-embedding-3-small',
    input: query,
  })

  const supabase = createClient()

  const { data } = await supabase.rpc('vector_search', {
    query_embedding: embeddingRes.data[0].embedding,
    match_threshold: 0.5,
    match_count: 10
  })

  return Response.json({ results: data })
}
Step 3 – Search Component
'use client'

import { useState } from 'react'
import { Search, Sparkles } from 'lucide-react'

export default function AISearch() {
  // …component code (trimmed for brevity)
}
Intelligent Chatbot Integration
// app/api/chat/route.ts
export async function POST(request: NextRequest) {
  // …handler code (trimmed for brevity)
}
// ChatBot component (trimmed for brevity)
export default function ChatBot() {
  // …
}
Production Deployment in 3 Steps
- Optimize for Production
// next.config.js const nextConfig = { images: { remotePatterns: [{ protocol: 'https', hostname: '*.supabase.co' }] }, experimental: { staleTimes: { dynamic: 30, static: 180 } } } export default nextConfig - Deploy to Vercel
Connect your GitHub repo, add environment variables, and ship 🚀 - Monitor Performance
export function trackPerformance(operation: string, fn: () => Promise<any>) {
  const start = Date.now()
  return fn().then(result => {
    console.log(`${operation}: ${Date.now() - start}ms`)
    return result
  })
}
Essential Optimizations
Database Indexing
CREATE INDEX posts_published_idx ON posts(published, created_at DESC);
CREATE INDEX posts_embedding_idx ON posts USING ivfflat (embedding vector_cosine_ops);
React Query Caching
import { useQuery } from '@tanstack/react-query'

function usePosts() {
  return useQuery({
    queryKey: ['posts'],
    queryFn: () => supabase.from('posts').select('*'),
    staleTime: 5 * 60 * 1000
  })
}
Error Boundaries
export function ErrorBoundary({ children }) {
  return (
    <ErrorBoundaryComponent fallback=<div>Something went wrong. Please refresh.</div>>
      {children}
    </ErrorBoundaryComponent>
  )
}
Common Issues & Quick Fixes
- Authentication Issues
const { data, error } = await supabase.auth.refreshSession() - Real‑Time Connection Issues
channel.subscribe(status => { console.log('Status:', status) if (status === 'SUBSCRIBED') console.log('✅ Connected') }) - OpenAI Rate Limits
async function retryWithBackoff(fn, max = 3) {
  for (let i = 0; i < max; i++) {
    try { return await fn() }
    catch (e) {
      if (e.status === 429 && i < max - 1) {
        await new Promise(r => setTimeout(r, 2 ** i * 1000))
      } else throw e
    }
  }
}
What’s Next – Advanced Features
- Content Generation – AI summaries, smart recommendations, automated tagging
- Advanced Analytics – Behavior tracking, AI‑interaction metrics, performance dashboards
- Mobile App – React Native with the same Supabase backend, offline‑first, push notifications
- Enterprise Features – Multi‑tenant architecture, advanced security, custom AI model tuning
Conclusion: Your Modern Full‑Stack Foundation
You’ve just built a production‑ready application with:
- ✅ Zero‑config backend with PostgreSQL and real‑time features
- ✅ AI‑powered search that understands user intent
- ✅ Intelligent chatbot for user engagement
- ✅ Production optimization and deployment
- ✅ Scalable architecture ready for growth
Key Benefits:
- 15‑minute setup vs. weeks of traditional backend work
- Modern AI features that differentiate your app
- Production‑ready code with proper error handling
- Scalable foundation that grows with your business
At DL Minds LLP, we’ve used this exact stack to deliver 250 + successful projects. The combination of Supabase’s reliability, React’s flexibility, and AI’s intelligence creates applications that don’t just work — they delight users and drive results.
About DL Minds LLP
We’re a globally serving IT‑services provider specializing in modern full‑stack solutions with Supabase, React, Next.js, and AI integration. From startups to enterprises, we help businesses leverage cutting‑edge technologies for scalable, intelligent applications.
Reading Time: 8 minutes | Difficulty: Intermediate